Headstock Overlay
click images to enlarge
|
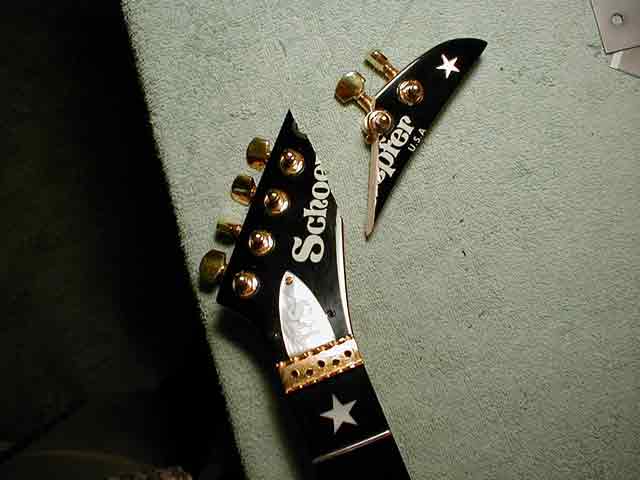
| Here we have a nasty headstock
break. This customer actually lives in Mexico and bought this
custom-made guitar but it got broken in transit. Bummer! I have
to make a disclaimer here. I told the customer that in order to
make this break invisible I would have to refinish the face of
the headstock. I would have to get a new decal. But he informed
me that the maker of this guitar passed away. So he said he didn't
want me to remove the decal or refinish the face because it would
lose value. I told him that in the end the crack would still be
noticeable from the top and he was okay with that. |
|
|
|
|
|
|
|
|
1.
Now to the job. It was a clean
break and the pieces fit together nicely. But, because of the
shape of the headstock, I didn't think that simply gluing it together
would provide enough strength to last nor endure shipment to Mexico.
I decided an overlay would be the solution. |
|
|
|
|
|
|
|
|
|
|
|
|
|
|
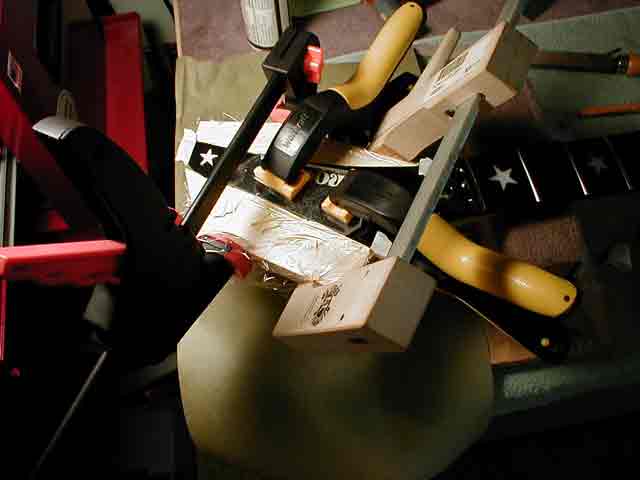
2.
First, I had to glue the headstock
back together. I had to make some cauls to accommodate the odd
shape of the headstock and give me parallel clamping surfaces.
I used plexiglass on the face and back to ensure a level alignment.
|
|
|
|
|
|
|
|
|
|
|
|
|
|
|
3.
Here, the headstock is glued
together. You can see the crack where some of the finish chipped
off. It goes right through the decal. I will touch that up later.
|
|
|
|
|
|
|
|
|
|
|
|
|
|
|
4.
Once it was glued up, I was
ready to remove some wood. I wanted to remove about an 1/8 of
an inch. I used the
Wagner Safe-T-Planer for this. It's an awesome and cheap tool
that fits into a drill press and allows you to remove wood evenly
and smoothly. I got mine a my local Woodcraft store but Stew Mac
sells them too. Sorry, I don't have any pictures
of the Safe-T-Planer in action. You just can't plane a custom-made
guitar and take a photo at the same time! |
|
|
|
|
|
|
|
|
|
|
|
|
|
|
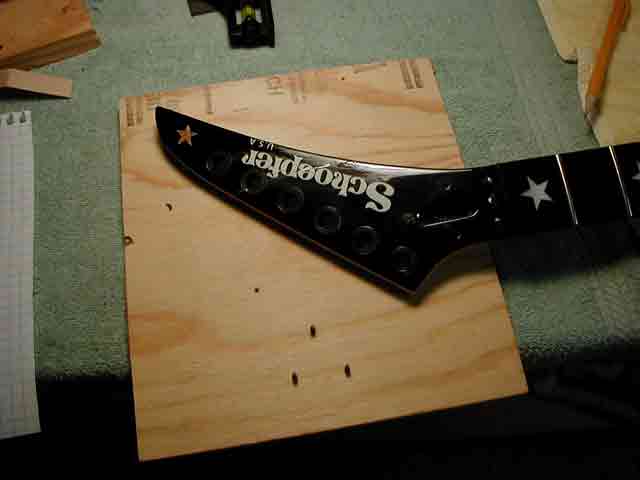
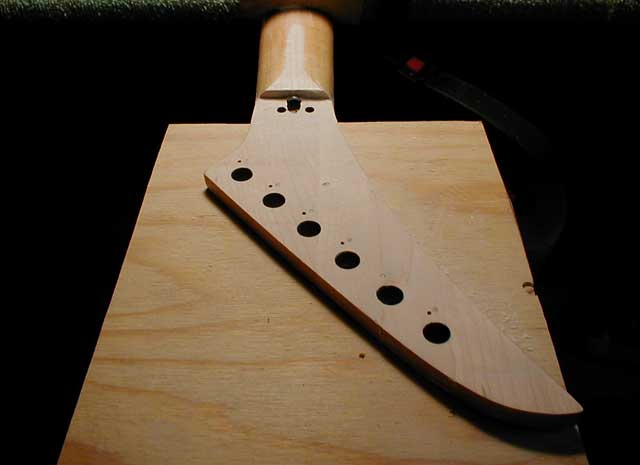
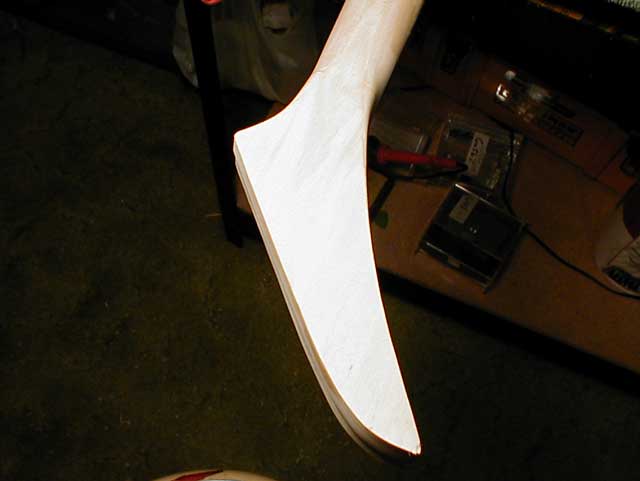
5. I screwed the headstock onto
a piece of plywood, using the screw holes for the truss rod cover.
This would protect the face and give me a flat and level working
area that I could slide across the drill press table. But here is the result of
the planer. Of course, I had to do some hand tooling around the
truss rod with chisels to square that up. Besides that, it's all
planer. Now I have a good flat and even surface for gluing new
wood.
|
|
|
|
|
|
|
|
|
|
|
|
|
|
|
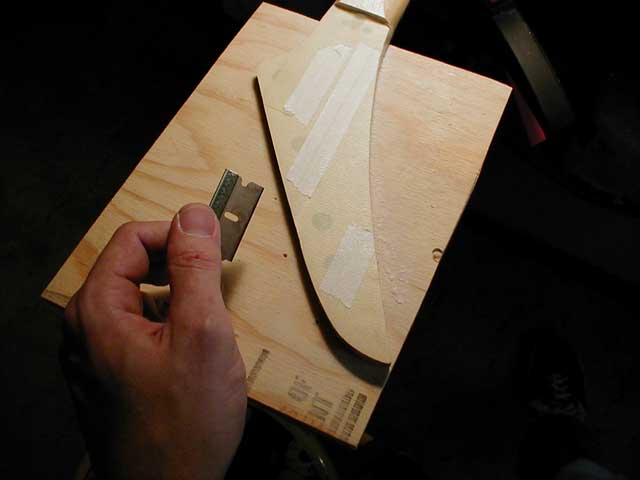
6.
Next, I needed to make a template
of the headstock. I used masking tape to cover the headstock and
then carefully cut around the edges with a razor blade. Since
I used masking tape I could peel it off in one piece and then
apply it to my new piece of wood.
|
|
|
|
|
|
|
|
|
|
|
|
|
|
|
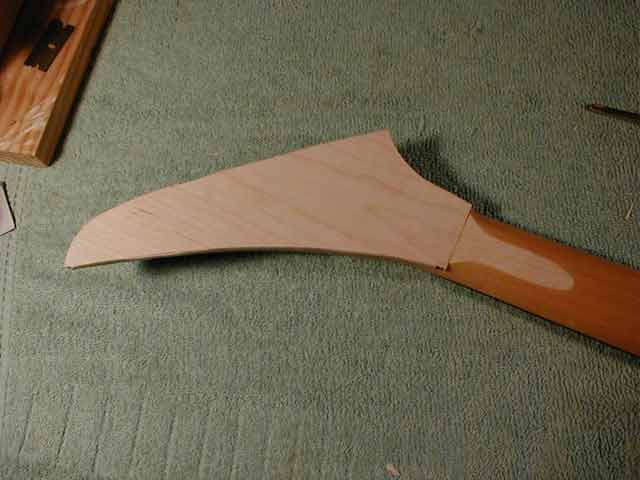
7.
Here is the new wood glued
onto the headstock. It fit nicely. I had to hollow out the part
that touched the truss rod nut to allow for adjustment. Now it's time for carving
and shaping.
|
|
|
|
|
|
|
|
|
|
|
|
|
|
|
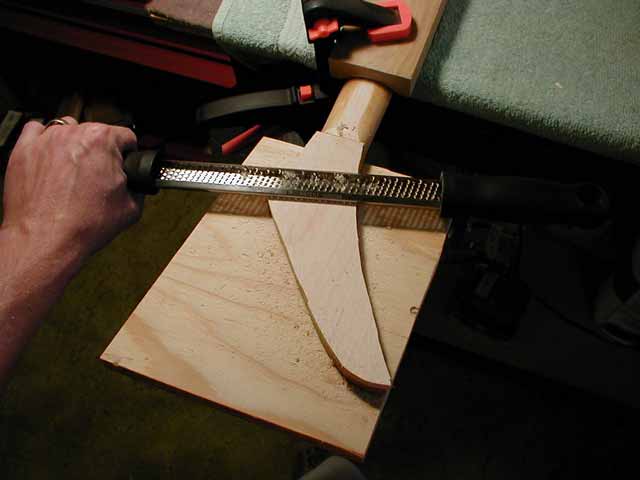
8.
I used this micro-planer to
hog off the majority of wood. Then I used files and and sandpaper
to do the more detailed work. I had to be careful not to take
too much off. I measured how far down I wanted to go and then
marked it all the way around with a pencil. I stopped often to
check my progress.
|
|
|
|
|
|
|
|
|
|
|
|
|
|
|
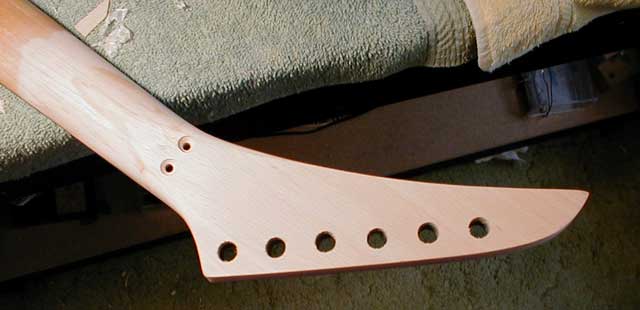
9.
This is what the headstock
looked like after it was shaped. I cut the workboard the same
shape of the headstock so I could access the sides for sanding
and still protect the front. I also added a thin laminate
of maple that covered the entire headstock and also went down
the neck. If the break was close to where the headstock angles
back from the neck, I would have continued the overlay down the
neck. But since this break was closer to the tip it just wasn't
necessary. The laminate just helped hide the glue line, though
you can still see some of it.
|
|
|
|
|
|
|
|
|
|
|
|
|
|
|
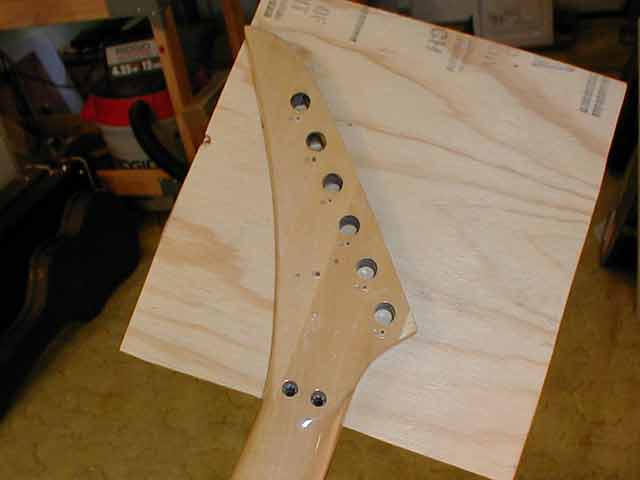
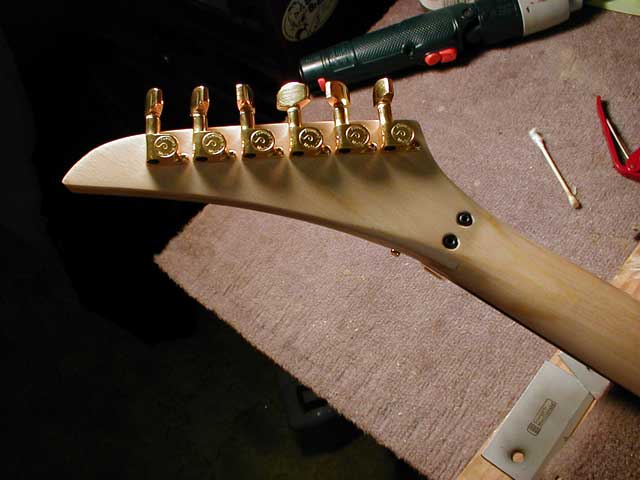
10.
Now it was time to drill the
tuning machine holes and the holes for the locking nut. I drilled
these holes from the front of the neck but rested the back of
the neck on some modeling clay to help prevent the drill bit from
"blowing out" wood on the back. Then I sanded it for finishing
with lacquer.
|
|
|
|
|
|
|
|
|
|
|
|
|
|
|
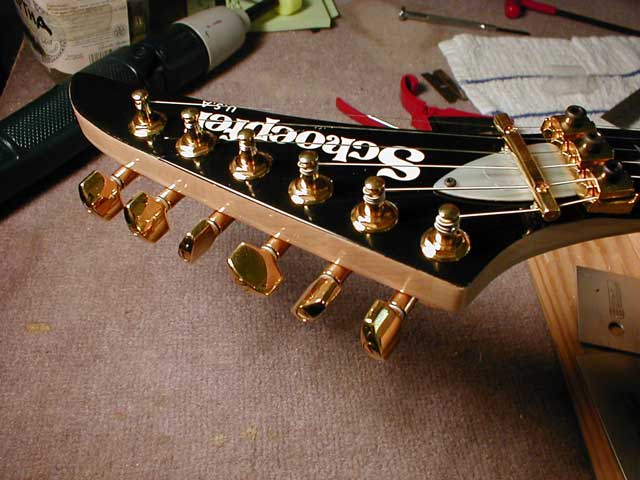
11.
Here she is, finished, buffed,
and assembled. Not bad if, I may say so. But most importantly,
it is a strong repair. The overlay was the way to go on such a
precarious break.
|
|
|
|
|
|
|
|
|
|
|
|
|
|
|
|
|
12.
I touched up the face as much
as I could. I drop filled the finish crack with lacquer and leveled
it the best I could. I was scared of sanding into the decal, so
I was overly cautious. The customer knew I couldn't make it look
brand new without removing the decal. He just wanted a strong
repair so he could finally play this guitar.
I shipped it to him and it
arrived in one piece. He emailed
me when it arrived and said: "The guitar is with me
right now, an excellent job!!!!!! Well done, thanks"
Thank You for your business!
|
|
|
|
|
|
|
|
|
|
|
|
|